

Are you wondering how to build a simple, functional chicken tractor that keeps your hens safe and healthy? With just basic woodworking skills, you can assemble a 4×8 foot coop from sturdy 2x4s, adding predator-proof features like hardware cloth and raccoon-proof latches.
This guide will help you set up an easy-to-move chicken home that promotes fresh pasture and natural fertilization.
Chicken Tractor Benefits and Right Size
A 100-square-foot chicken tractor is ideal for housing 10 to 20 standard hens. Each hen needs at least 4 square feet for comfortable space and health. Rotating the tractor every 21 days or so matches pasture regrowth and prevents overgrazing, keeping your flock healthy and productive. This rotation also allows your chickens to graze on fresh grass, clover, and insects daily, reducing your feed costs. The sturdy frame provides predator protection by keeping raccoons and hawks out while enabling you to move birds to clean ground. Spreading manure evenly fertilizes your lawn naturally, and frequent movement breaks pest and weed cycles as birds eat insects and seedlings. This design also simplifies daily egg collection by including a small nesting area accessible from outside. As you move the tractor, pull out old anchor posts using the quick removal techniques described for chain link fence posts. Building your own feed bin from treated lumber and hardware cloth helps store grain safely and further reduces ongoing costs.
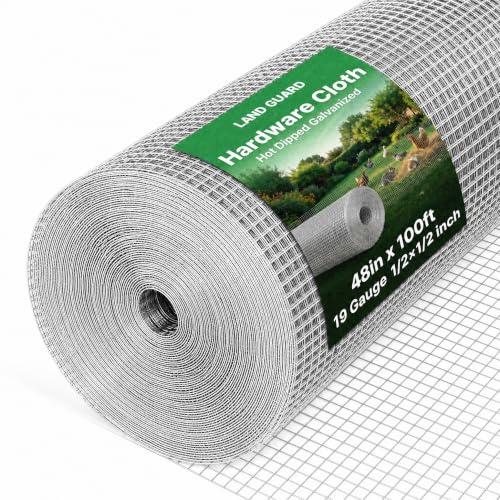
Material and size: The size of the hardware cloth is 48 inch×100 ft square and 1/2 inch×1/2 inch thickness, adopt 19 guage hot-dipped galvanized material

Material and size: The size of the hardware cloth is 48inch×100ft square and 1/4inch×1/4inch thickness, adopt 23guage hot-dipped galvanized material

Material and size: The size of the hardware cloth is 48 inch×100 ft square and 1 inch×1 inch thickness, adopt hot-dipped galvanized material
Lumber, Hardware Cloth, and Wheel Shopping List
For your lumber needs, use straight, dry 2x4s for most of the main frame. Untreated wood is fine if it won’t be in constant contact with the ground, helping prevent rot. You will need about 8 to 12 boards to build a 4×8 tractor, giving enough material for the frame and supports. Pre-drill pilot holes to reduce the chance of splitting when driving in nails or screws. This step makes assembly smoother and preserves your lumber’s integrity. For a flock of twelve hens, this size tractor provides sufficient space comparable to top chicken coops designed for that number. If you are considering alternatives, reviewing top chicken coops with runs can help you compare quality and value for future upgrades. Adding chicken toys for coop can also keep your flock entertained and active while using the tractor.
Build the Chicken Tractor Frame and Mount Wheels
Begin by cutting your 2x4s to size: two long side rails and two shorter end rails, forming a 4×8-foot rectangle. Arrange these pieces on a flat surface to create the base frame. Use a square to ensure each corner is precisely right-angled, as accurate squaring is crucial for proper wheel alignment.
Add cross members across the frame for reinforcement; these prevent twisting when you drag the tractor. Prop the frame on scrap blocks to elevate it and set the desired wheel height. Mark your mounting point on one end of the frame, ensuring the wheel center aligns with your mark for proper balance. Drill through the frame at the mark, then bolt the wheel hub onto the frame using washers and a lock nut. The distance of wheel placement determines lift height and impact on terrain. Adjust the height so the tractor sits level—that is, not nose-down or tail-down—and dry-fit the wheel first to check clearance. Once confirmed, tighten all bolts securely. Position the handle on the opposite side of the wheels to maintain balanced lifting. With this setup, your chicken tractor frame and wheels are ready for rolling.
Install Wire Mesh and Predator-Proof Doors
To secure your coop, install 1/2-inch heavy-gauge hardware cloth over all openings and around the base, extending it at least 12 inches outward to prevent digging predators. When attaching the mesh, use screws and washers to resist pullout, rather than staples, which can easily be dislodged by animals. Cover every opening including doors, vents, and windows, and extend the mesh to the roof line gaps for full containment. Build solid, rigid door frames that resist prying, and incorporate mesh directly into the door assembly for added security. Use raccoon-proof latches such as barrel bolts or double-action locks, avoiding weak hook-and-eye closures. Regularly inspect ground contact points for signs of digging or attempted entry, and replace or reinforce any compromised areas promptly. This heavy-gauge steel wire resists rust and chewing far better than standard chicken wire. For young chicks moved into the tractor, ensure the brooder temperature is maintained at 95°F for the first week to prevent chilling. For adult ducks in the tractor, providing a separate source of crushed oyster shells supports strong eggshell production and overall health.

High-Quality Raw Materials: Welded from strong low-carbon steel wire for stability and toughness. Each weld is reinforced and coated with a thick hot-dip galvanized layer for long-lasting corrosion resistance.
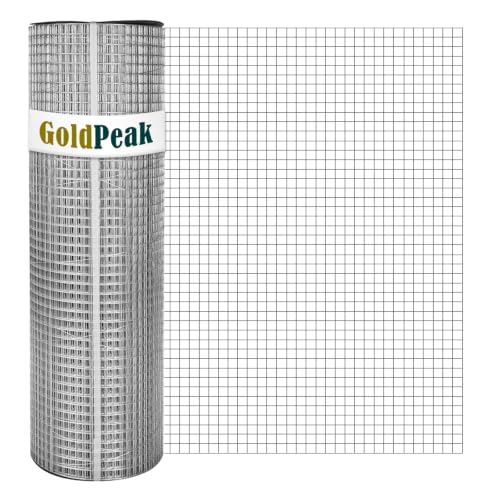
HOT-DIP GALVANIZED AFTER WELDING – Built with post-weld hot-dip galvanizing for maximum rust and corrosion resistance, so your chicken wire fencing and outdoor garden fencing hold up strong in wet, humid conditions.

Heavy-Duty 19 Gauge Hardware Cloth Construction: This hardware cloth is made from thick 19 gauge welded steel wire, creating a rigid and stable structure that holds its shape during installation. It is designed for outdoor and DIY applications where strength and durability are important.
Test Movement and Add Perches, Feeders, and Shade
Move the tractor across the intended ground before adding interior fixtures. This helps you test wheel clearance, balance, and frame stability, ensuring the tractor can move smoothly without tipping or dragging during starts or turns. Confirm that access points open easily and without obstruction. Incorporating insulation for roosting areas can also prevent frost buildup inside the coop during cold snaps. Quail benefit from coop designs that prevent escape and provide easy access for cleaning and egg collection. For the fence perimeter of a fixed run, spacing posts at eight feet offers a good balance of strength and material efficiency.
Next, install perches. Place them low to reduce jumping strain and use removable designs in small tractors to save space. Mount feeders securely to prevent tipping, and position them under partial cover to keep feed dry during rain or dew. For shade, add a tarp or shade cloth over part of the roof, maintaining partial coverage to allow airflow. During hot weather, place water inside this shaded zone for easy access. After each addition, recheck the tractor’s balance to detect any instability caused by the modifications. Shade can be added using a cost-effective shade fabric purchased online, anchored to the frame with simple D-ring hardware and tensioned with stakes or turnbuckles.
Finally, run a movement test with all fixtures in place. This final check ensures everything functions properly and that your setup is practical for use in the field—focusing on functionality, not fluff.

80%-90% SHADING RATE: Our shading nets boast an impressive shading rate of 80%-90%, making them highly effective in providing substantial protection from the sun's intense rays. Whether you need to create a comfortable outdoor space, shield your garden, or protect your plants from excessive heat, our shading nets offer optimal shade coverage.

【High Quality ,More sizes, Give you more choices】- Our Shade Cloth can resist rays and most sunlight while air can still flow through so as to create a comfortable cool and shaded place for people or plants.

【High Quality Shade Cloth 】- Our Shade Cloth can resist rays and most sunlight while air can still flow through so as to create a comfortable cool and shaded place for people or plants.