

If your welded wire fence is sagging or loose, you might wonder how to tighten or stretch it effectively. Properly stretching your fence helps keep it sturdy and secure.
By following a simple step-by-step process, you can restore tension and ensure your fence stands straight.
The full guide below walks you through all the key steps to get your fence tight and lasting.
Prepare the Fence Line and Posts for Stretching
To prepare the fence line and posts for stretching, start by clearing the area of debris and vegetation to create a clean workspace. Measure the total length of your fence line carefully to select the correct amount of materials and prevent shortages. Mark the corners, ends, and gate locations with stakes to establish the layout, then double-check that the line is straight before installing the posts. Consider the long-term health of your flock by reviewing medicated chick starter options if poultry will be near the fence line, and also verify that any dust or materials used near them are safe for pets to avoid accidental exposure. Install corner and end posts first by digging holes 24 to 36 inches deep. Set the posts in concrete and allow 24 to 72 hours for curing. To prevent leaning under tension, add diagonal bracing between the terminal posts and the first line posts, which is critical for durable long-term support. For better drainage and stability, fill post holes with gravel during subsequent maintenance.
Set line posts approximately 8 to 12 feet apart, maintaining consistent spacing even on uneven terrain. Drive T-posts straight or tamp in wooden posts firmly, using a level and string line to ensure accuracy. Confirm that all posts are stable and properly positioned before proceeding to stretch the wire.
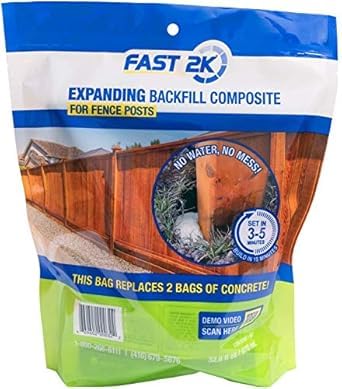
SAVE YOUR BACK: Lightweight technology replaces 80lbs of concrete with a 2.5lb bag

LARGE PACK 33.8oz - Will Intall x2 Posts | Replaces 80-100 lbs Concrete
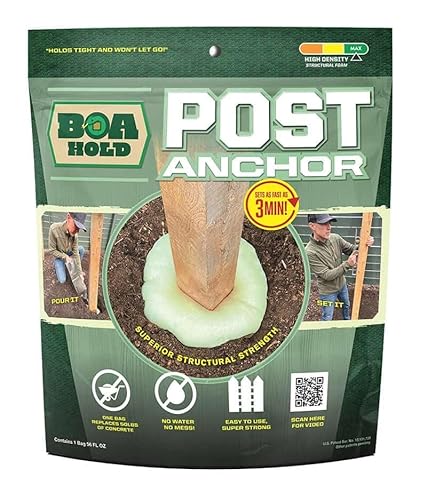
Concrete-Free Convenience – No water, no mess, no mixing. Installs in under 10 minutes. Replaces a 50 lb. bag of concrete with high-density structural foam.
Unroll and Position the Wire Without a Fight
To unroll and position the wire without a fight, start by preparing the roll before moving it. Cut or remove the ties holding the roll together, but avoid cutting into the mesh itself. Keep your gloves and eye protection on because the wire can spring open under tension. Secure one end of the wire before unrolling to prevent it from unraveling uncontrollably. Inspect the roll for bent edges or damage beforehand to avoid issues during unrolling, and consider similar safety tips for handling scratch grains to prevent injury from sharp edges. This wire is made from galvanized steel, which resists rust but retains sharp cut ends that require careful handling. Cracked corn should be offered in moderation as it lacks complete nutrition for geese, unlike the durable structure of this fencing material.
Place the roll on a hard, flat surface with the loose end facing upward and in your direction. Align the roll with the fence line to minimize side drag and kinks as you unroll. Unroll the fence slowly, keeping it as straight as possible for consistent mesh alignment. Use a helper to control the weight of the roll and advance the wire in short sections to maintain control. For efficient unrolling of multiple strands concurrently, consider using a fence wire unroller that connects to a vehicle’s receiver tube.
Stop immediately if the mesh catches on itself or if the wire begins to bend—forcing it can cause tangles or damage. Lay the fence roughly in line, making sure it is level and untwisted before moving on to tensioning. This careful approach keeps the process smooth and helps prevent injuries or material damage.
Stretch the Wire: Tools, Technique, and Tension
To stretch the wire properly, you need to apply enough tension to make it taut without causing damage. Start by selecting a suitable pulling device—either a fence stretcher or come-along for heavy-duty control, or ratchet straps for lighter jobs. Attach wire grippers or a clamp bar to distribute the pulling force evenly across the wire fabric. Connect your pulling tool to a reinforced section near the free end of the wire. Gradually increase tension, keeping the pull aligned with the fence line to prevent twisting or skewing. For even stress distribution, incorporate multiple ratchet straps to better manage tension across the wire. For even faster results, consider using pulling metal fence posts as an anchor point to secure the pulling tool. To match the strength of your anchor point, ensure your chosen fence posts are durable enough to handle the applied load without bending. Using pine shavings as bedding in the coop can help maintain a dry environment that reduces rust on wire and hardware.
Your wire gauge influences how much force you need; thinner gauges are easier to stretch and require gentler handling. Environmental factors also matter—hot weather can cause the wire to over-stretch or become more flexible, so adjust tension accordingly. Aim for a taut wire with no visible sag, but avoid over-tensioning, which can weaken the wire or cause it to snap. A good practical test: press down on the wire at its center; the deflection should only be 1 to 2 inches.

2 Ton Come Along Winch:The heavy duty come along hand winch cable puller has a maximum pulling capacity of 2 ton, making it suitable for various manual winch tasks such as road vehicle recovery, loading heavy loads unto trailers, pulling fences,logs,rocks or stumps.

1 TON COME ALONG WINCH: Heavy-duty mini come along one ton come along hand winch cable puller delivers serious pulling power for construction, home, farms, ranch, fences, and automotive use. Max horizontal load capacity of 2,500 pounds.

【Efficient One-Person Operation】Specially designed for chain link fence setup, this tool lets you securely hang and stretch the fence fabric on the top rail with ease. One-person installation speeds up your project, saving both time and labor costs
Secure the Stretched Wire to End Posts and Line Posts
Secure the welded wire to the end and line posts by first attaching it to the end posts, then to each line post, ensuring a straight and stable fence. Begin at a corner post and fasten the wire near the top, middle, and bottom with appropriate fasteners—galvanized staples for wood posts driven at a slight angle, leaving room for expansion. For T-posts, use purpose-made clips and avoid overtightening to prevent damage. At line posts, distribute the holding force evenly by attaching staples or clips at regular intervals. T-posts typically require 4 to 5 clips per post, while wood posts benefit from consistent staple placements. Maintain fastener spacing of every 6 to 12 inches vertically along the wire. Following a uniform pattern helps prevent drifting and sagging, keeping the fence straight and secure from post to post. For poultry enclosures, applying perfect bedding ideas to the run floor can further support the fence’s stability by minimizing ground erosion near the posts. For additional protection against predators, galvanized hardware cloth is often used to reinforce the lower portion of the fence. Using purpose-made clips prevents damage to the wire when attaching it to T-posts, as recommended by proper wire cutter usage guidance.

Package Includes: You will get 280pcs hot diopped galvanized U shaped nails, For Wire OD:1/4" ; Leg Length:1"; Diameter: 0.09"; providing an ample supply for various fencing and securing projects
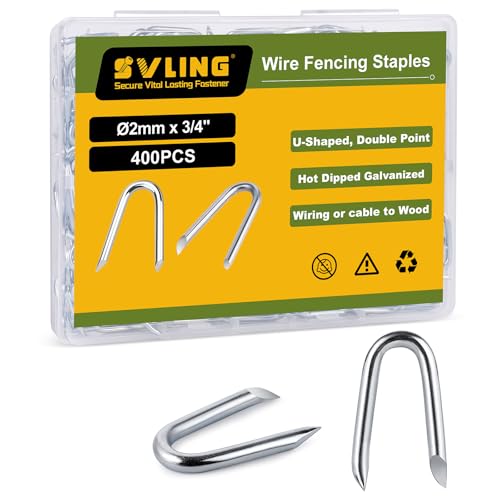
Package Includes: You will get 400pcs hot diopped galvanized U shaped nails, For Wire OD:1/4" ; Leg Length:3/4"; Diameter: 0.078"; providing an ample supply for various fencing and securing projects

Package Includes: You will get 90pcs hot diopped galvanized U shaped nails, For Wire OD:1/4" ; Leg Length:1-1/4"; Diameter: 0.138"; providing an ample supply for various fencing and securing projects
Stop Sagging: Reinforce Corners and Ends Before You Finish
Reinforcing corners and ends before tightening the final wire is crucial because these points bear the heaviest load and prevent the entire fence from sagging or buckling. Start with an H-brace system: set a heavy terminal post deep in concrete, then add an adjacent brace post. Connect them with a horizontal member and a diagonal brace wire, twisting the brace wire tight to lock the structure. Proper tension adjustment here is essential to avoid future sagging—use 9-gauge wire, looping it from the terminal post’s base to the brace post’s top. After tightening, check each corner for lean—any inward pull indicates the brace isn’t strong enough yet. The assembly should feel rock-solid before proceeding. Ensuring these corners are firmly reinforced guarantees uniform tension across the entire fence run, helping your fence stay straight and durable over time. For a cost-effective approach, consider using heavy-duty bolt cutters to quickly trim excess tension wire before final fastening, rather than struggling with smaller wire cutters. For a cost-effective approach, consider building a DIY wire tensioner using common materials and simple tools. For a dry, dust-free area to store your tensioning hardware between uses, a chicken dust bath container offers an inexpensive and weather-resistant solution.

Versatile Compatibility: Designed for 26"–60" W and 72" H wood gates. Please use standard nominal 2×4 lumber with an actual width of 3.6 in or less and measure your actual lumber size before purchase

For Common Wood Gate Projects: Designed for wood gates, shed doors, garden gates, driveway gates, corral gates, barn doors, and patio gates. Please use standard nominal 2×4 lumber with an actual width of 3.6 in or less and measure your actual lumber size before purchase

Holds up to 300 lbs per bracket
Safety Checks and Final Adjustments
Always wear protective gear—gloves, eye protection, long sleeves, and sturdy boots—before finishing your fence. This keeps you safe from injuries during tensioning and installation. Keep your hands clear of pinch points to avoid painful accidents. After tensioning, inspect the posts thoroughly. Check for loose or leaning posts, rust spots, or broken wires, and ensure line posts remain perfectly plumb. Achieve even, firm tension without over-tightening, as excessive force can weaken the wire and compromise strength. The fence should be straight with minimal sag and an even appearance. Use a makeshift fence puller made from wood and bolts, similar to one assembled from existing storage materials, to achieve proper alignment without wrinkles. For those considering a smaller project, a kit-based feeder offers a simpler alternative to custom builds. This tensioning process mirrors how a chick brooder temperature must be carefully balanced to avoid harming the young animals under your care. For optimal results, consider how a top quail egg incubator maintains precise environmental conditions to ensure healthy hatch rates.
Secure the wire to the line posts only after reaching your desired tension. Use the proper fasteners for each type—clips for T-posts and staples for wood posts. Trim any excess fencing material only after all attachments are properly in place. Walk along the entire fence line to identify loose spots, and correct them with pliers. Recheck tension after each adjustment to maintain consistency. Confirm bottom gaps are minimal and the fence sits evenly. Before finishing, do a final visual inspection to ensure all posts are stable and the fence aligns straight.
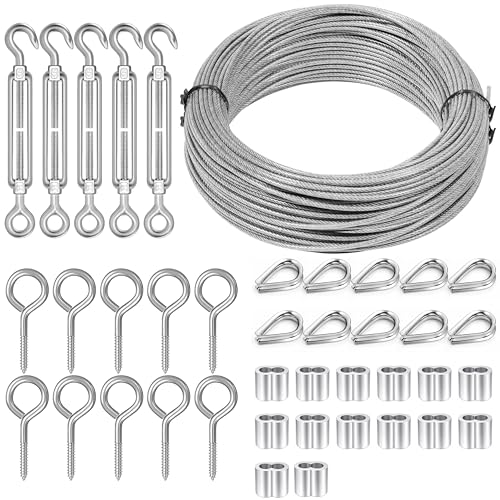
PREMIUM WIRE TURNBUCKLE KIT: Includes 100Ft 1/16 Inch robust stainless steel cable and 5pcs M5 adjustable turnbuckles,10pcs M2 wire rope thimbles, 10pcs M5 screws hooks, and 20pcs M2 aluminum crimping loops designed for secure tensioning in various wire installations; ensures strong, durable support for your projects

【Fence Door Buckle Kit】Our anti sag gate kit cable wire rope made of stainless steel with better durability and strength rather than galvanized wire, cable wire consisting of 7 groups of 7 strands braided together, sturdy and durable, corrosion resistance and rust resistance, perfect for long term outdoor use in any weather.

[1/16 Wire Rope Kit]: Wire trellis kit includes 100ft vinyl coated steel cable wire rope, 5× M5 turn buckle hook and eye, 10 × M3 wire rope thimbles, 10× M5 screw eye bolts, and 20 × M2 crimping sleeves. Giving DIY users the hardware needed for neat, secure light-duty cable runs