

Thinking about giving ducks a cozy nesting spot? Building a simple wood duck house isn’t hard, and it fits well in natural settings near water.
With the right materials and measurements, you can create a safe place for them to lay eggs and raise their ducklings.
Keep reading for clear steps to assemble your own DIY duck nesting box.
Recommended Dimensions for a Duck Nesting Box
A recommended size for a duck nesting box is approximately 24 to 25 inches tall with a depth of 10 to 12 inches. This tall, narrow shape is ideal for wood ducks, offering enough space for nesting while discouraging predators. The entrance hole should measure 3 inches high by 4 inches wide and be positioned 16 to 18 inches above the floor to keep eggs secure. For interior floor space, aim for an area of 10 by 10 or 12 by 12 inches to provide a comfortable nesting environment. Personalize your box with non-toxic paint or stains, but avoid finishes that could be harmful to the ducks. Materials like PVC or recycled plastic are good alternatives to wood, as long as they match these exact dimensions. A taller back panel can create a sloped roof, helping rainwater run off and protect the nest. Following these specifications increases your chances of attracting nesting ducks and ensuring their safety. Additionally, incorporating crushed oyster shells into the nesting material can provide essential calcium for laying ducks to strengthen their eggshells. When choosing a run or exterior enclosure, evaluating overall quality and value is essential for the safety of the duck house. Building the box from recycled plastic can significantly reduce material costs while maintaining durability.

Nesting Boxes – Provide a natural, comfortable, and safe environment for the poultry during egg laying

Premium Material: The single compartment chicken nesting box is made of high quality paulownia wood, which is sturdy, lightweight and durable, lasting for a long time. It is crafted with a smooth finish both inside and outside, making it easy to clean.

Instant Setup with Stable Placement:the product contains six chicken coop boxes, Boasting one-piece molding,this nesting box requires no assembly just unbox and place it in your coop, patio,or barn; Its solid structure stays firmly in place whether on the ground or a shelf,saving you time on installation while letting your poultry adapt quickly
Choose the Best Materials for a Durable Box
Cedar or cypress are the best materials for a durable box because they are naturally rot-resistant and won’t overheat. These woods can withstand weather and wear, extending the lifespan of your box. Exterior plywood is a lower-cost alternative, but you must apply weatherproof coatings to protect it from moisture and decay. Use a dark gray, non-toxic wood preserver on the outside to enhance its durability. Never choose pressure-treated lumber, as it contains chemicals that are harmful to ducks. Instead, stick with untreated, natural wood to ensure safety. Inside the box, add 3 to 4 inches of dry cedar shavings. Fresh bedding keeps eggs off the cold floor and prevents mold. Avoid using pine or poorly sealed materials, as they absorb moisture, leading to a shorter lifespan for your box. Choosing high-quality, weather-resistant materials saves you time and helps protect your ducks in the long run. Additionally, comparing your options using a budget-friendly guide can help you find the best value when selecting coop or nesting box materials.

100% natural oil of Aromatic Eastern Redcedar wood.

CLOSET STORAGE: Cedar Blocks for Clothes Storage - 100% Aromatic Red Cedar Wood Blocks for Closet Storage,red cedar wood storage accessories. Used for closet storage to protect your valuable Cashmere clothes and so on.

Smooth and Lightweight: These cedar wood sticks are uniform in size and weight, and smoothly sanded so there are no rough edges, and you don't need to worry about snagging clothing
Step-by-Step Cutting and Assembly Process
Begin by cutting and labeling each panel before assembly. Measure out the back, sides, floor, front, roof, and door on your wood sheet. Use a handsaw, table saw, or jigsaw to make precise cuts. As soon as you cut each piece, label it clearly to prevent any mix-ups later. Sand the edges after cutting to eliminate splinters and ensure smooth surfaces. For durability, consider using exterior-grade plywood if the structure will be outdoors. Finishing options include applying a non-toxic weatherproof sealant to protect against moisture and weather damage. To aid duck entry and exit, cut curved notches into the back of the front piece. While selecting the lumber, consider that the same principles used for durable coop fencing apply to protecting nesting boxes from predators. For a more economical option, you could use homemade flock block materials to attract ducks away from the structure.

STRONG, DURABLE, HEAVY-DUTY - These unfinished wood panels of multi-coated Baltic Birch plywood offer exceptional durability, rigidity, and stability for all your woodworking needs. The surfaces provide excellent holding power for glue and screws and the birch edges create cleaner joinery.
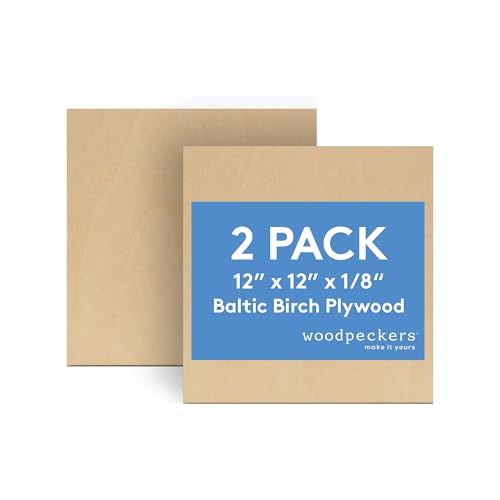
STRONG, DURABLE, HEAVY-DUTY – These craft wood pieces of multi-coated Baltic Birch plywood offer exceptional durability, rigidity, and stability for all your woodworking needs. The surfaces provide excellent holding power for glue and screws and the birch edges create cleaner joinery.

【Great Value Set】 You will get 6pcs basswood sheets, each wood dimensions about 30 x 30cm/12 x 12 inch, and 1.5mm/1/16 inch in thickness. Sufficient quantity and large size enough to meet your decoration needs and DIY craft projects, you can also share them with your friends or family
Cut the Perfect Entrance Hole for Your Ducks
Cut a 3-inch-high by 4-inch-wide oval entrance in the front panel of your birdhouse. This size is ideal for wood ducks and hooded mergansers, providing enough space for the ducks to enter while preventing raccoons and other predators from squeezing through. To create the opening, carefully mark the oval shape, ensuring it is centered horizontally and positioned about 16 to 18 inches above the box floor for a secure nesting cavity. Drill a pilot hole inside the marked ellipse, then use a jigsaw to cut along the line with steady, smooth movements. Be sure to clean the edges afterward to prevent splintering and maintain an accurate, durable opening. Properly sizing and positioning this entrance is crucial for attracting the right species and ensuring their safety.
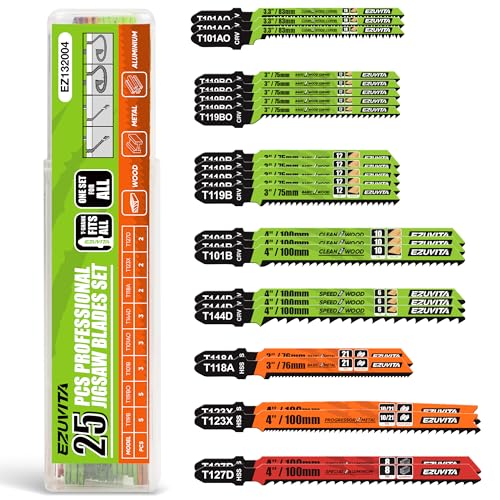
【One Set For All】The 25-Piece jig saw blades kit contains a variety of speed, smooth blades comprising a handy set for common wood projects, plastic and metal curve&straight cutting

The product is 5PC Shank Jigsaw Blade

Including jigsaw blades designed to make a variety of cuts in wood and metal
Where and How to Mount the Box for Safety
Choose a mounting location near open water, ideally along the shoreline or directly over it, to match the natural habitat of ducks and increase the chances of occupancy. Mount the box at a height between 6 and 12 feet above ground or water, adjusting based on local predator activity and high-water levels. To ensure stability, sink a steel pole 24 to 36 inches into the ground or submerged in water before attaching the box using lag bolts. Always add predator deterrents such as a predator guard below the box; if you mount over water, the pole setup already limits land-based threats. Tilt the box slightly forward to allow rain to run off and face the entrance toward open water, providing easy access for ducks while keeping predators at bay. Keep the area clear of branches and brush nearby to prevent predators from gaining access and to maintain a safe nesting environment. For added durability, consider using corrugated metal for the roof, as it resists rust and weathering. For cozy comfort during cold spells, consider adding a small sweet heater inside the box, as reviewed for chicken coops, to provide supplementary warmth without fire risk.

Package Included: 2 brackets, 2 adjustable clamps, 4 screws — everything you need for a quick, complete pole mount setup
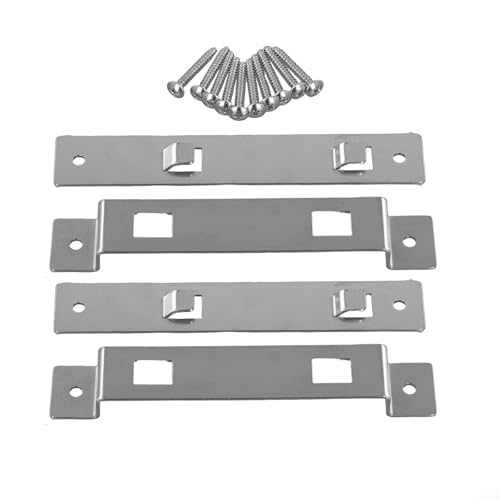
[ for weather-resistant MATERIAL] Made from robust stainless steel, this bird house hanger bracket resists rust and , providing a reliable solution for outdoor use in any climate.

Easy Installation - Installing our birdhouse hanger bracket is a breeze. Each bracket measures approximately 6 x inches and is just the right thickness, making it easy to fix onto any . Simply mount the bracket using its built-in hole design and attach the hanger to the back of the birdhouse. This user-friendly setup guarantees that your birdhouse can be securely hung wherever you desire without hassle.
Maintenance Tips to Keep Your Box Ready Annually
You should clean out a duck nesting box at least once a year, ideally after the nesting season ends in fall or winter. Remove all old nesting material, including shavings, eggshells, and debris, then refill with 3 to 4 inches of clean wood shavings. Ducks won’t bring their own nesting material, so a fresh layer ensures a clean, dry environment for the next season. This annual reset helps prevent mold, parasites, and buildup of waste that could harm future broods. For laying ducks, choosing a high-protein layer feed supports strong egg production and overall health during the nesting season. Using low-cost tools for initial construction can significantly reduce the project’s total expense. If the coop is in a cold climate, infrared heat bulbs can provide gentle warmth without disrupting the ducks’ sleep cycle.
Inspect the box’s structure for any damage such as loose screws, rotten wood, or worn edges. Ensuring the box is sturdy reduces the risk of collapse or injury. Predator guards should be checked yearly; trim nearby branches that could serve as access points and verify the entrance hole remains intact. Clear drainage holes and brush out the interior to prevent moisture buildup, which can attract mold or cause eggs to spoil. A detailed notebook should be used to record successful nests and species over multiple years. Replace any worn components and repair leaks immediately. Regular maintenance keeps your nesting box safe, clean, and ready for each season’s ducks.